TIPS
HOW TO LAY TILES
The question we receive most often is whether it is possible to lay new tiles over an existing floor covering. Let’s find out the best tiling methods for your space
1. Prepare the wall/floor before tiling
The surface prepared for tiling must be completely free from any defects and cracks. Whether it is a new or old wall/floor, make sure the surface is clean, dry, swept or vacuumed, and free of dust before installing a suitable underlayment.
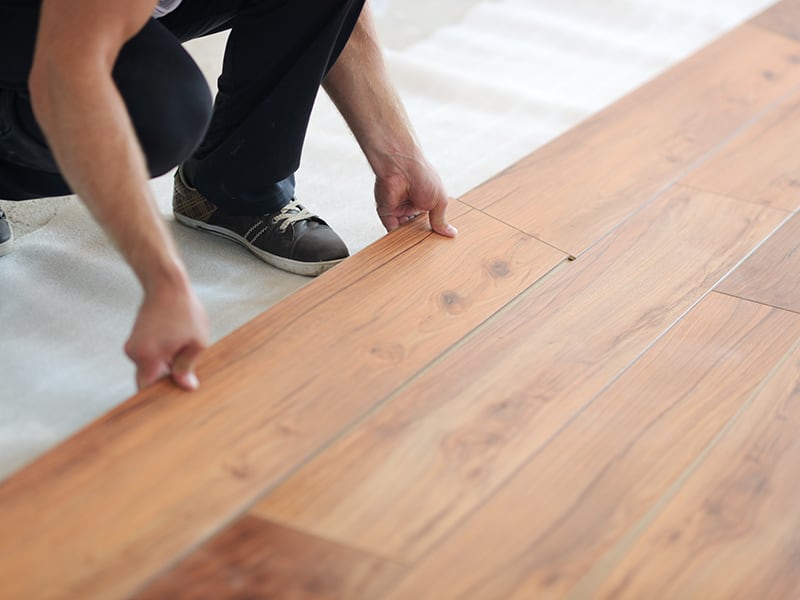
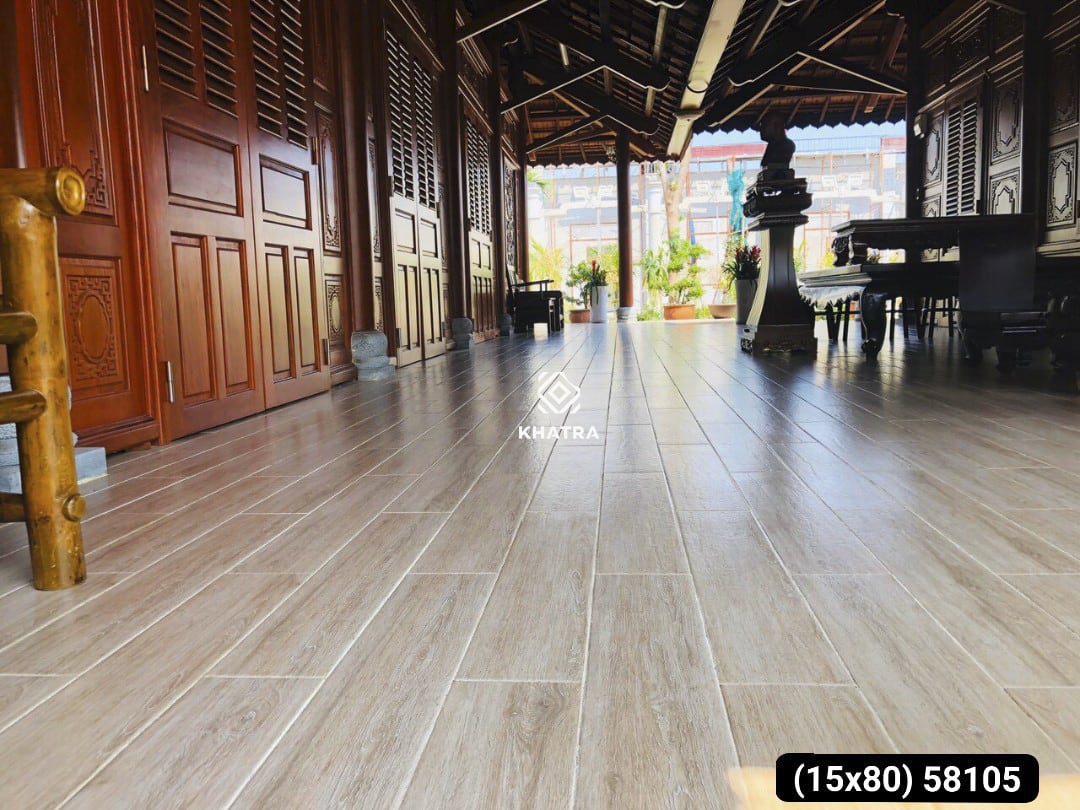
How to lay wood-look floor tiles
A common question asked most often is whether you can tile over an existing floor covering. Although the answer is yes, it is best to remove everything and start fresh from scratch. When removing your current floor, you are usually left with a solid concrete subfloor like a newly built house, which helps ensure all underlying issues are addressed thoroughly.
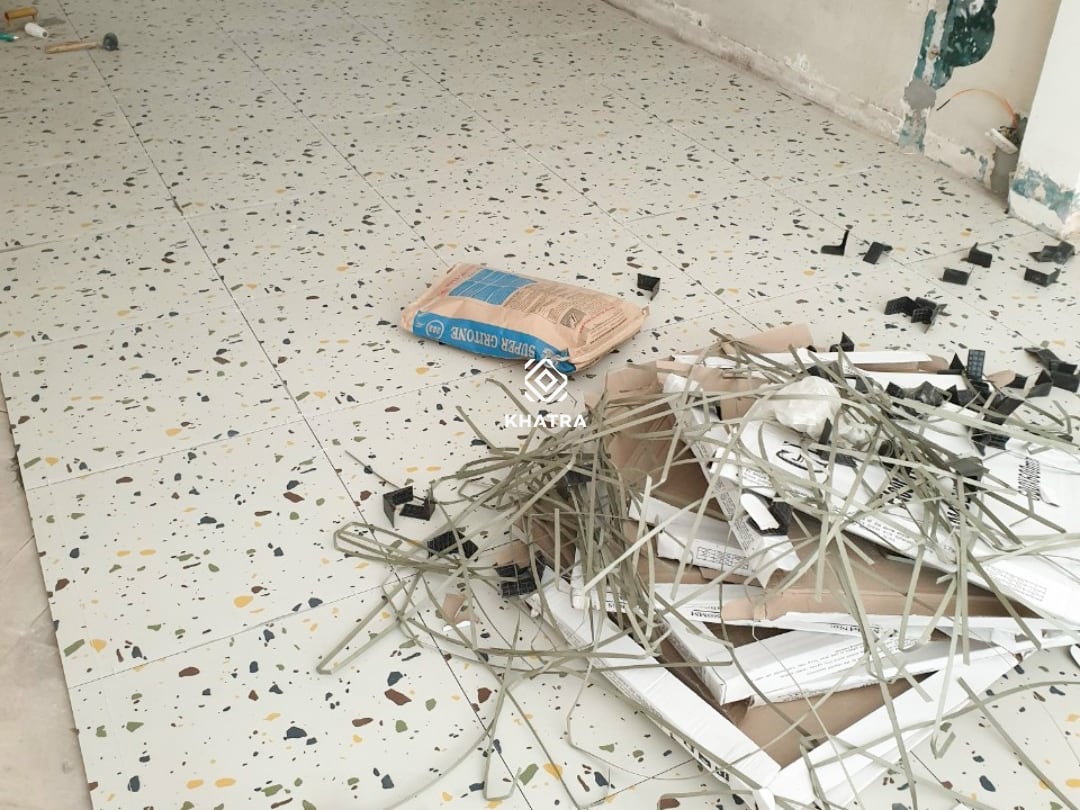
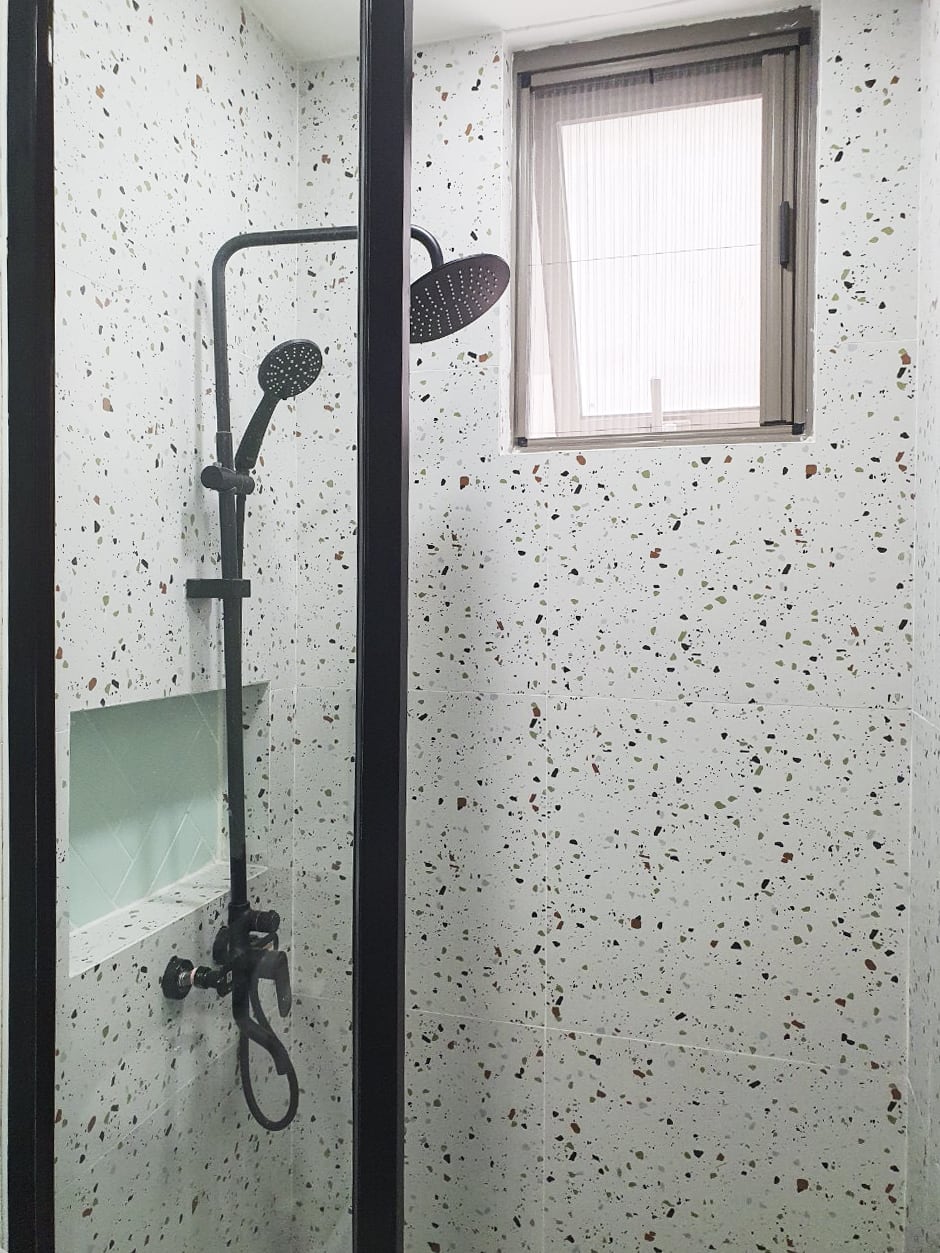
How to lay Terrazzo D6632 tiles
If you plan to tile both the walls and the floor, a piece of advice is to start with the floor so that the wall tiles sit on top of the floor tiles. This ensures that water runs down onto the tiled floor rather than into the grout joints or beneath the tiles.
2. Plan the Layout and Choose Tile Patterns
Think about the tile layout, the placement of grout lines, and cuts to ensure a balanced and symmetrical room. Door thresholds and floor obstacles will also need to be taken into account, and always remember the saying: measure twice, cut once.
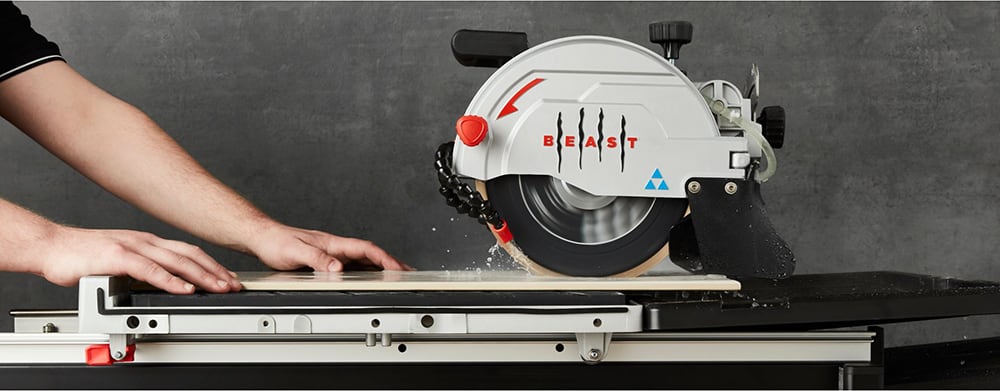
How to calculate cut tiles
First, find the center of the room. The simplest way to do this is to draw two intersecting lines at the exact center of the room. Begin dry laying (placing tiles on the floor completely without adhesive to plan the layout) a row of tiles (including spacers) in one direction from the center point. One note is to ensure that you will not have to cut more than half a tile on the end piece. If you end up with less than half a tile, adjust the starting point of the layout accordingly.
Combining floor tiles and wall tiles is one of the simplest and most effective ways to showcase the homeowner’s creativity and aesthetic taste; furthermore, it makes the living space more impressive and unique, becoming your pride whenever guests visit your home.
Note: If you want to cut tiles from available varieties to apply the tiling methods below, pay attention to which types of tiles can be cut. For example, 80×80 microcrystal tiles cannot be cut into smaller sizes like 40×80 because this type of tile has a glass surface layer that may chip or crack when cut, ruining the aesthetics. If cutting is needed, you can use granite tiles in simple, modern tones.
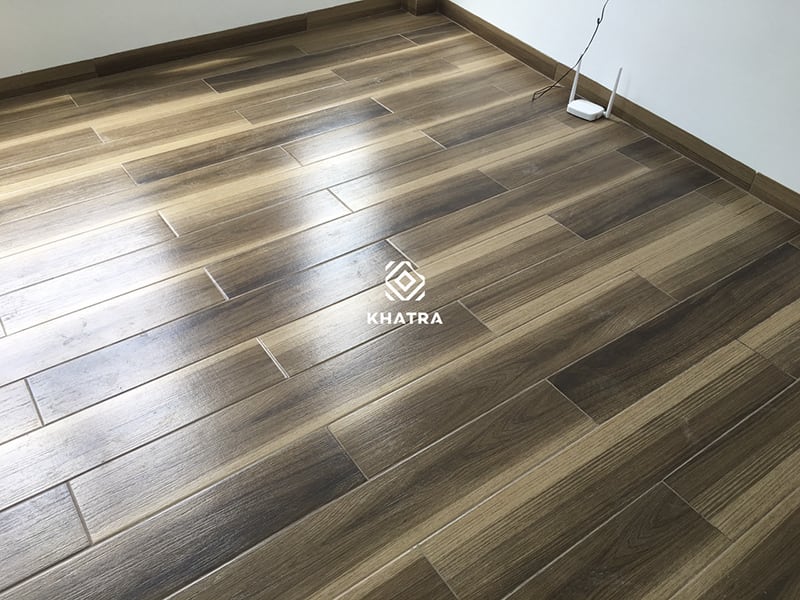
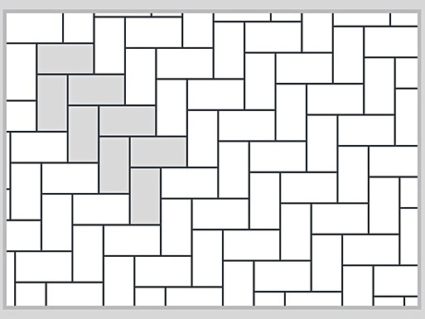
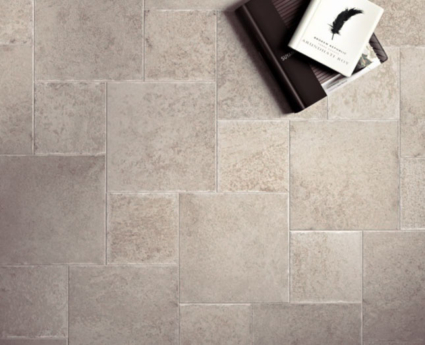
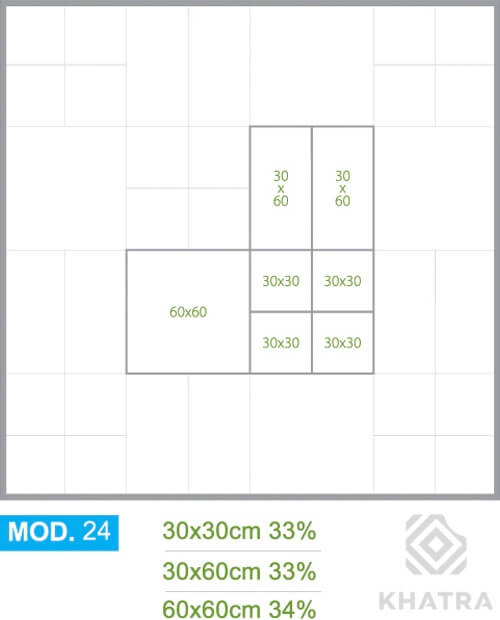
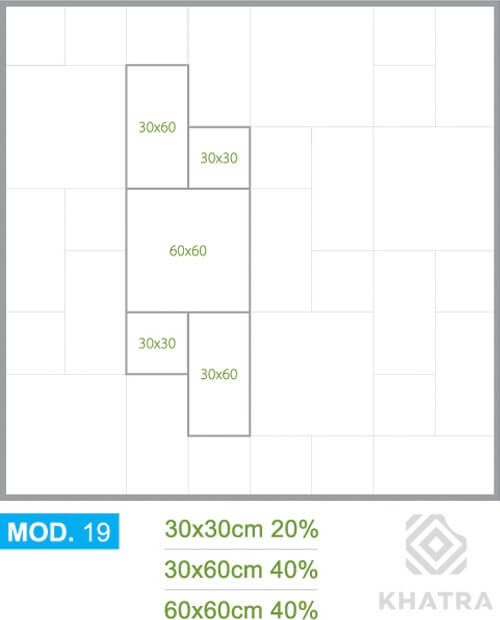
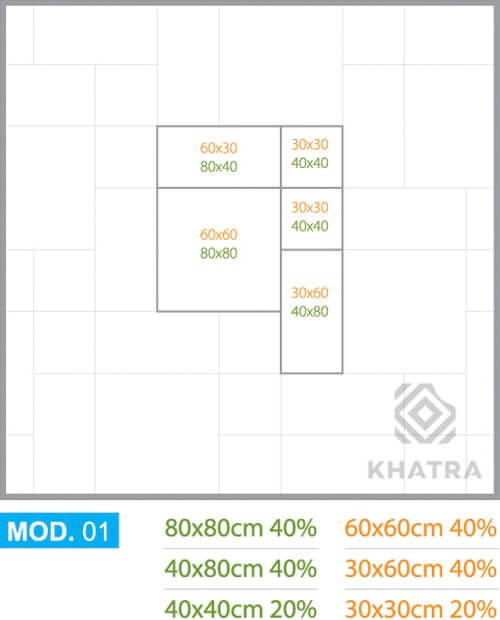
KHATRA would like to introduce 14 basic tile layout patterns to you:
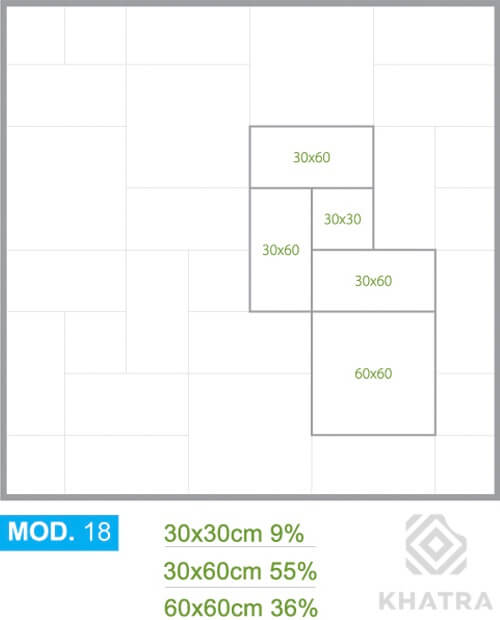
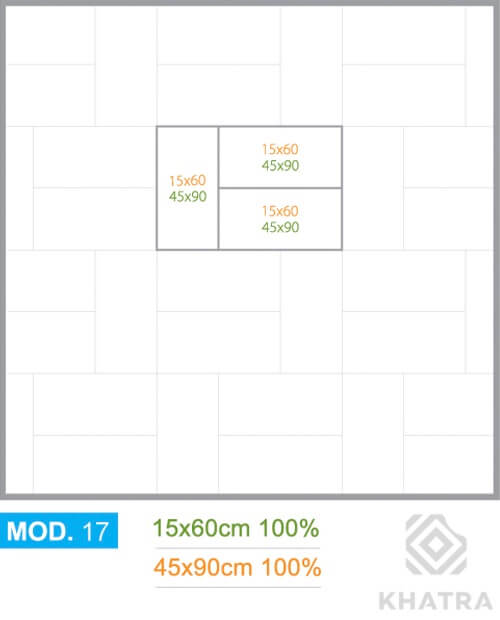
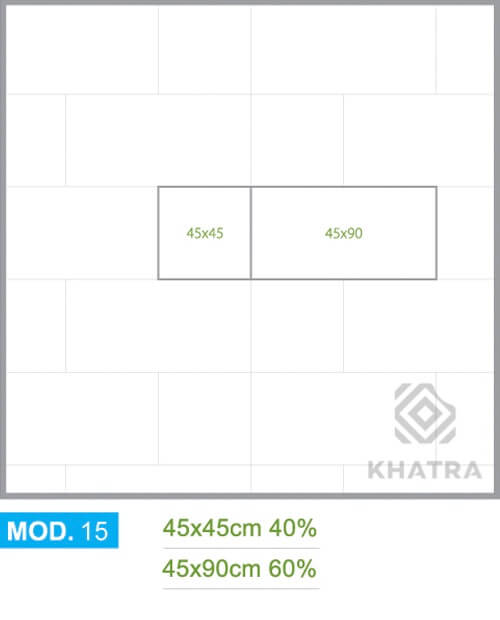
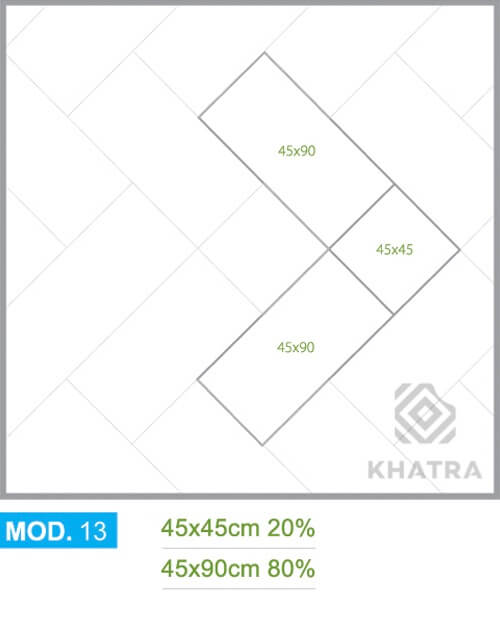

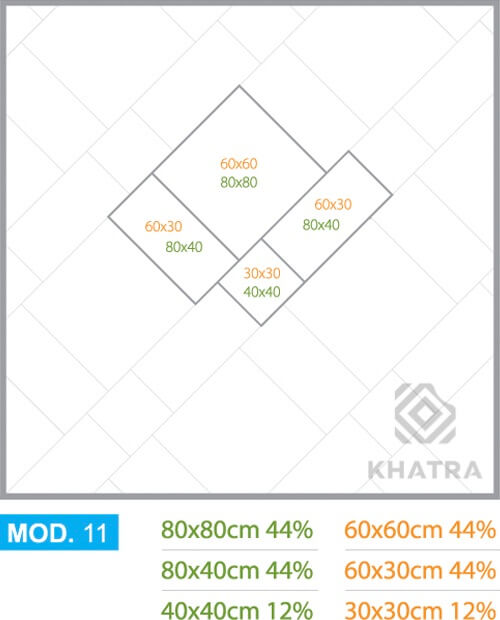

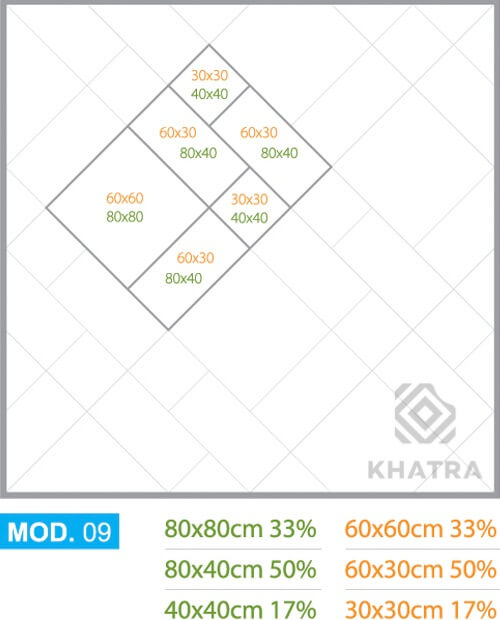
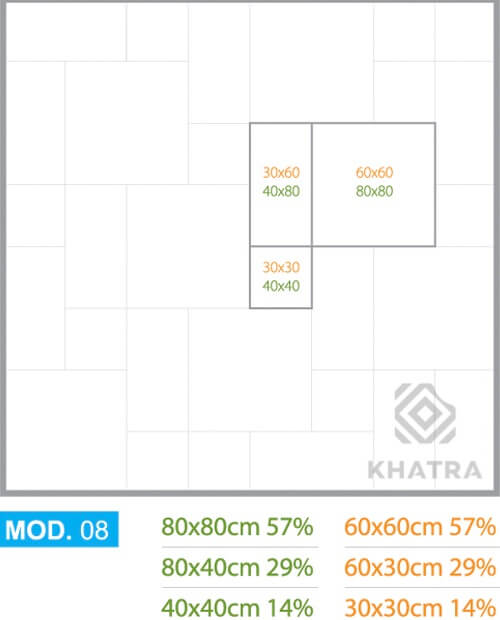
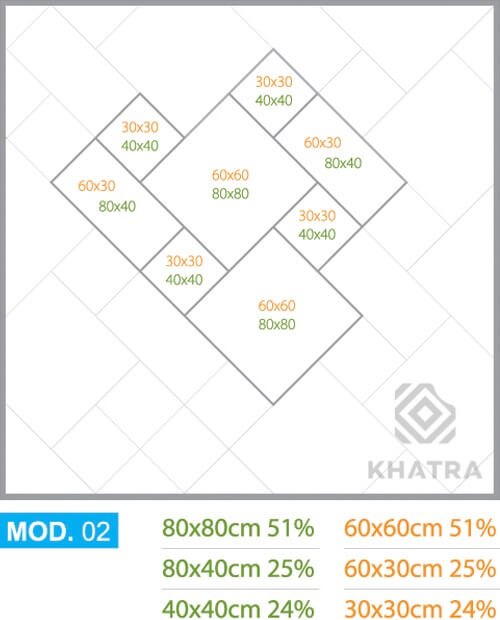
3. Use an Underlayment
Whether renovating a room or working on a completely new space, you must ensure that the floor/wall surface is completely flat. While tile adhesive can help smooth out minor bumps and dips, we recommend pouring a self-leveling underlayment to smooth out larger gaps and unevenness. This is also convenient if you plan to install underfloor heating mats or embed cables, eliminating any risk of damaging the wires.
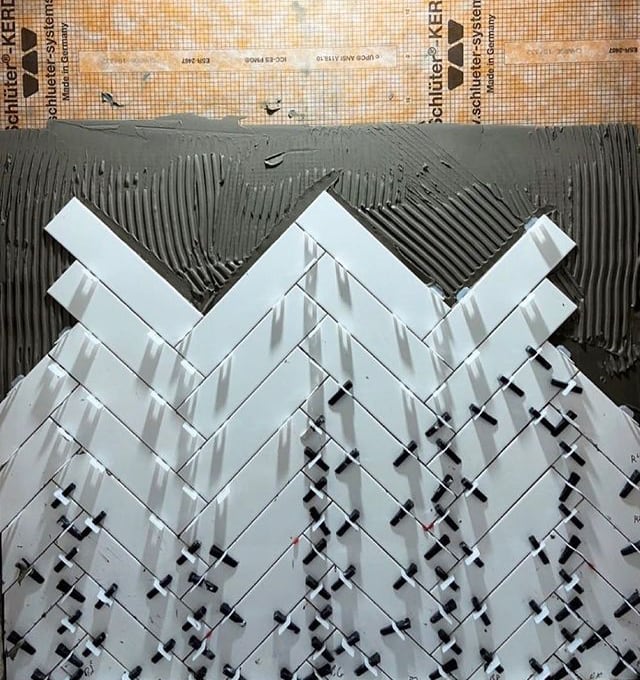
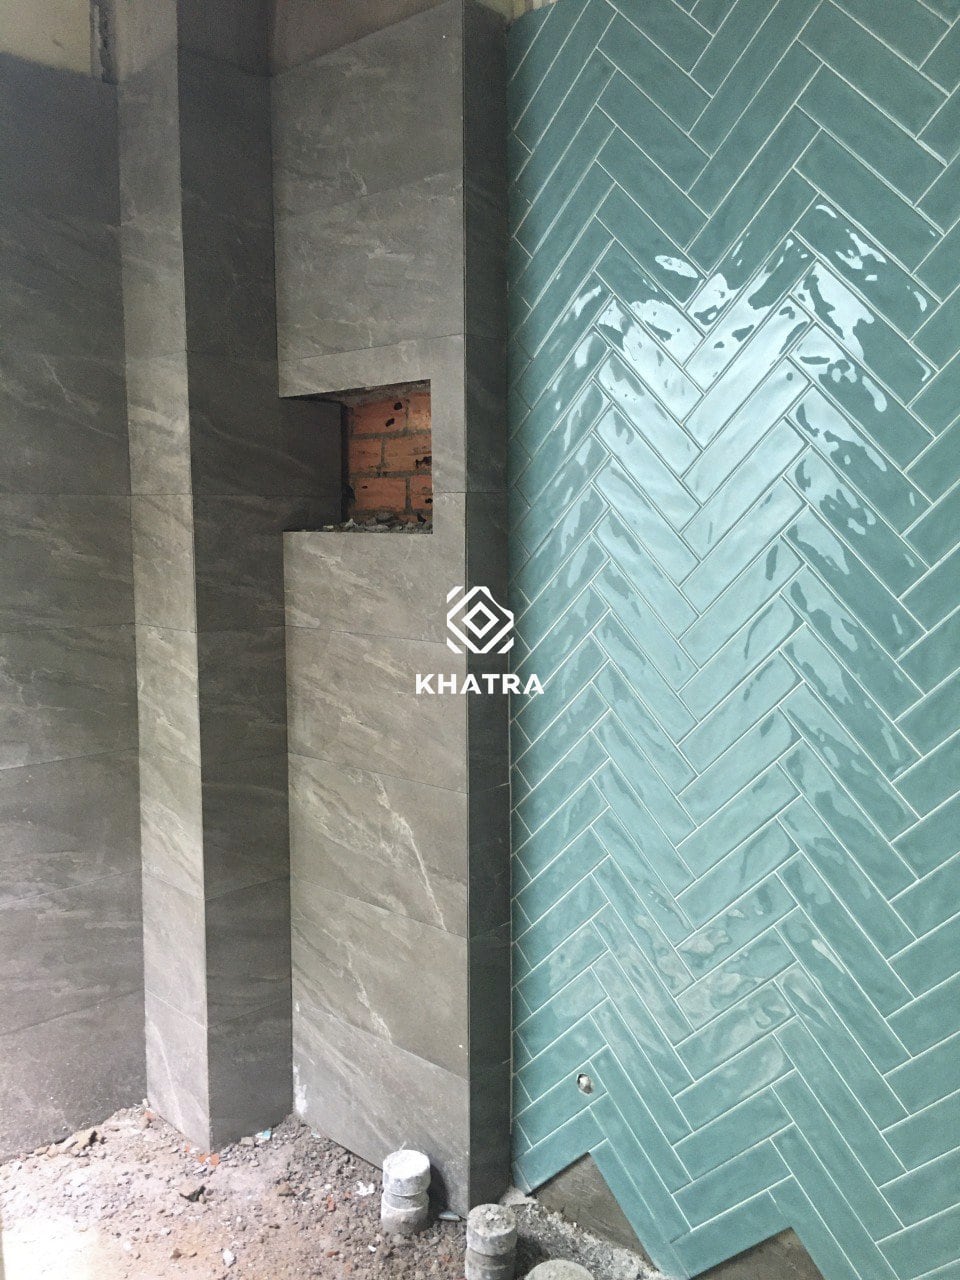
How to lay subway tiles evenly and neatly
4. Adhesive
A bad workman blames his tools. Make sure your installer is using the right adhesive for the type of tiles being laid. Porcelain floor tiles should always be laid with flexible cementitious adhesive from a reputable brand. High-performance tile adhesive absorbs minor movements and vibrations while providing exceptional adhesion to the substrate.
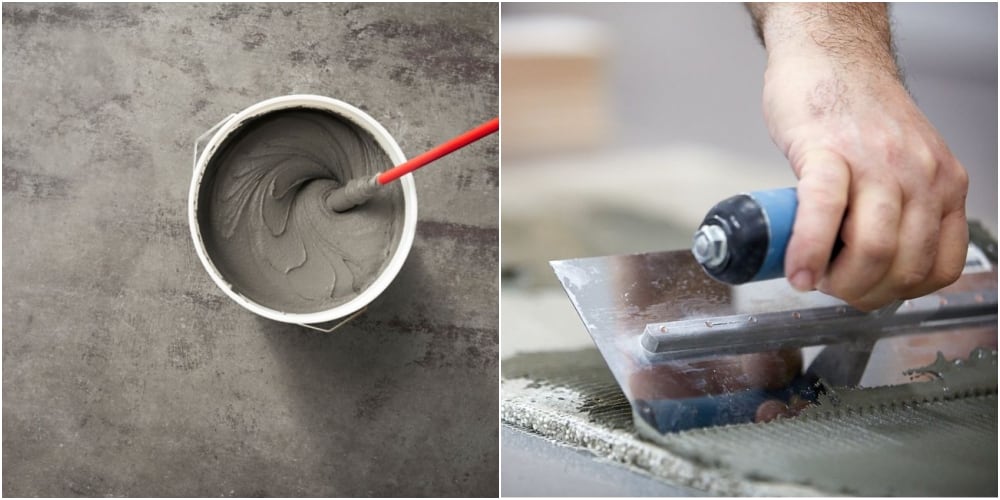
Choose the right mortar for tiling
5. Waterproofing
If you are tiling bathroom walls or floors, waterproofing the substrate and sealing the room is critical. Even if you are using premium porcelain tiles, water can still seep through grout joints into the underlying subfloor. Therefore, do not forget waterproofing measures for floors and walls before tiling to ensure a flawless result with maximum tile longevity.
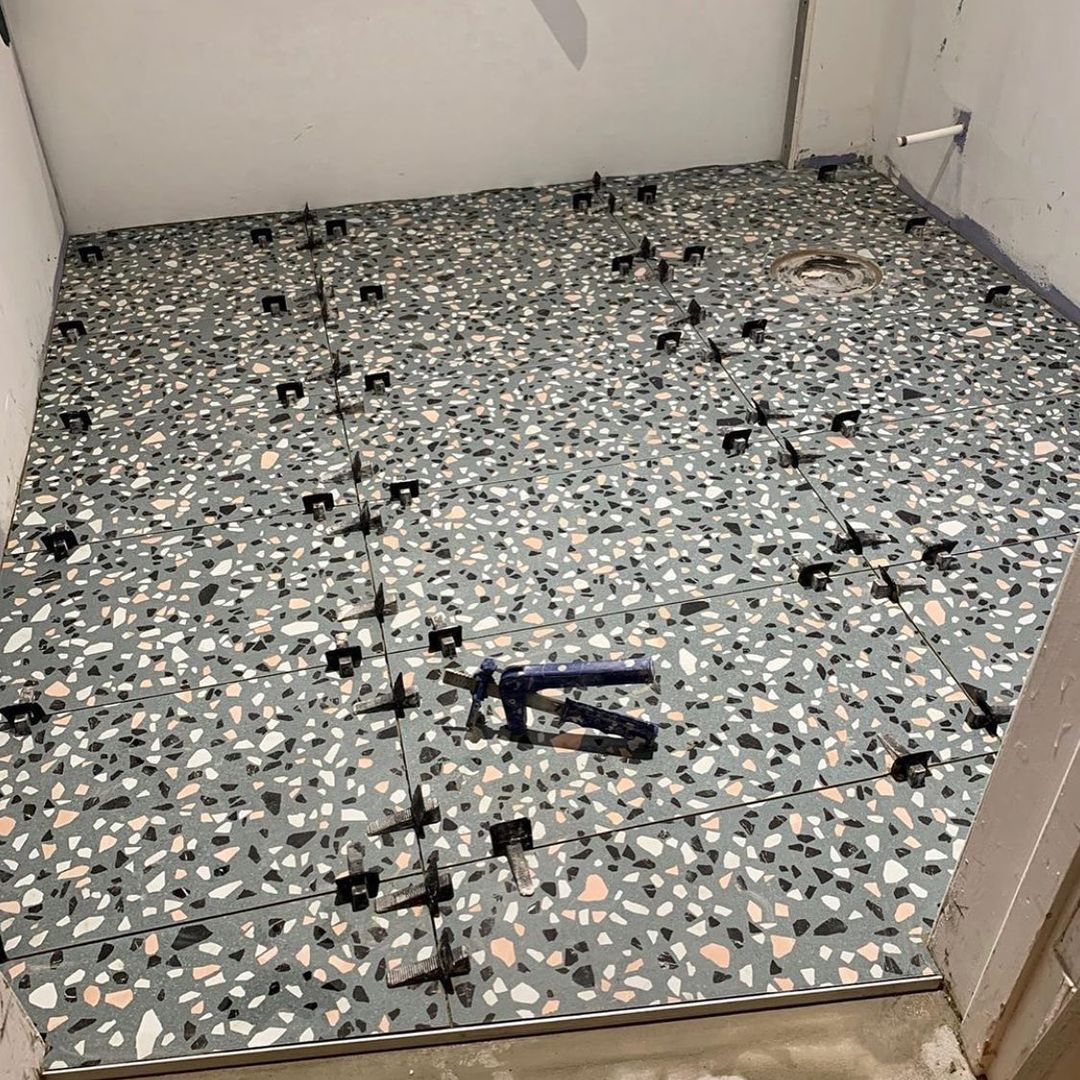
How to lay Terrazzo floor tiles for bathrooms
6. Leave Grout Spacers Between Tiles
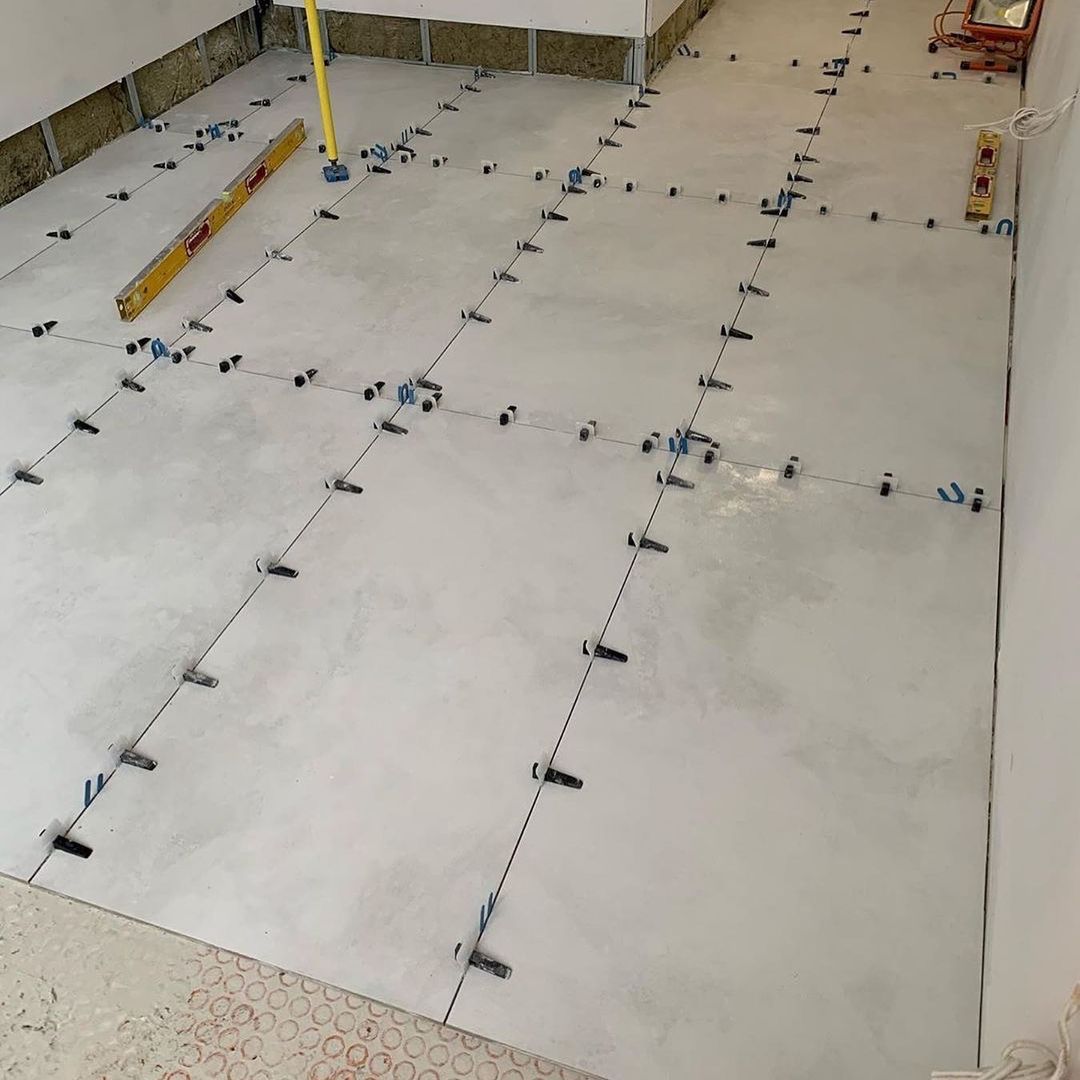
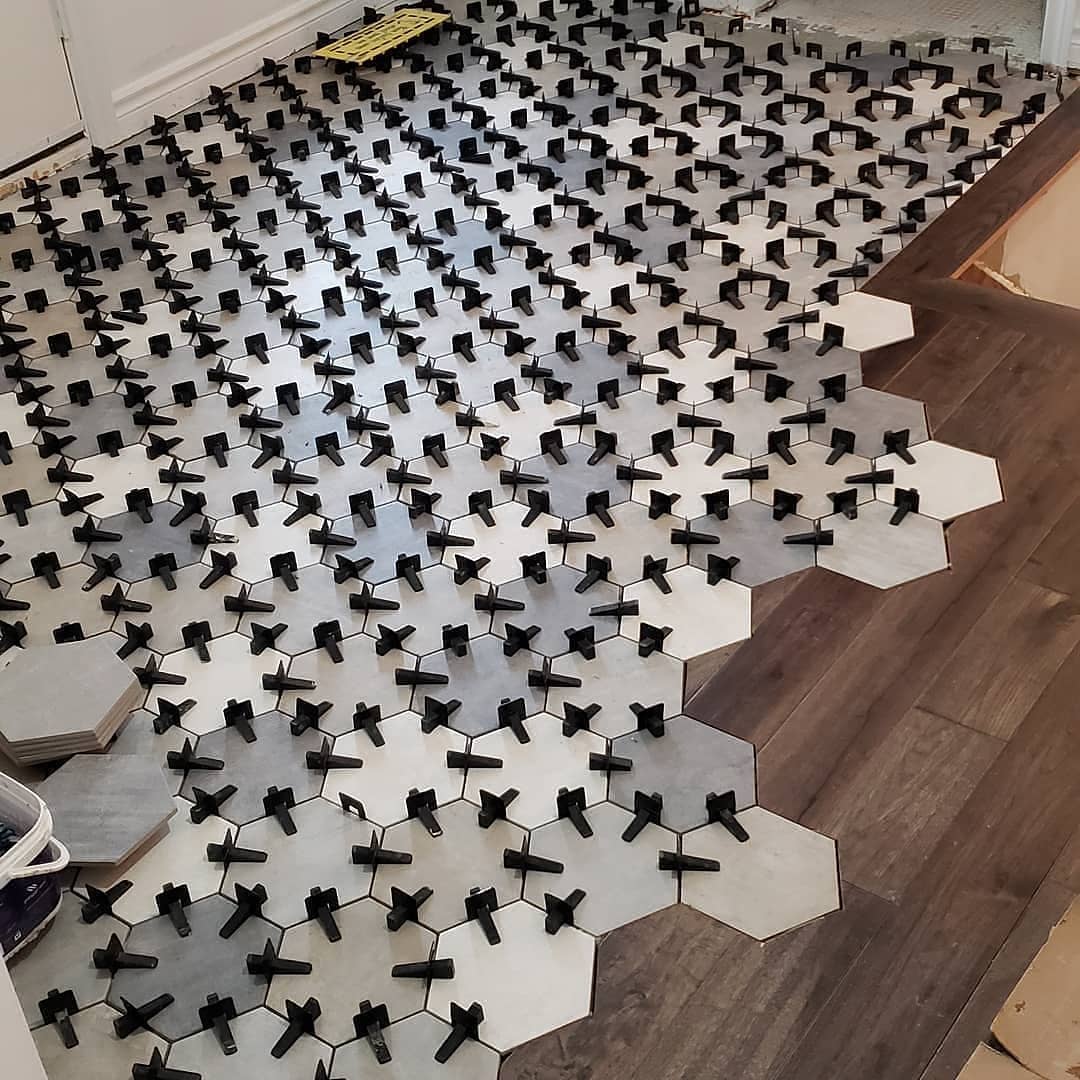
Don’t forget to use tile spacers between tiles for consistent spacing and uniform grout lines throughout the installation process. Spacers should be removable once the adhesive sets. Be sure to clean off any excess adhesive on the tiles and between the spaces as you work. Cleaning while wet is much easier; allowing it to dry may result in an uneven surface.

7. Check Adhesive Coverage Between Tile and Subfloor
It’s time to lay the tiles. When placing each tile onto the wall or floor, press down firmly and evenly. Twist the tile slightly back and forth to collapse the thin-set ridges and fill the grooves. This creates a solid thin-set bed beneath the tile. After doing this with the first tile, lift it back up and check to ensure approximately 80–90% mortar coverage on the back of the tile. Recheck your adhesive consistency if coverage is insufficient.
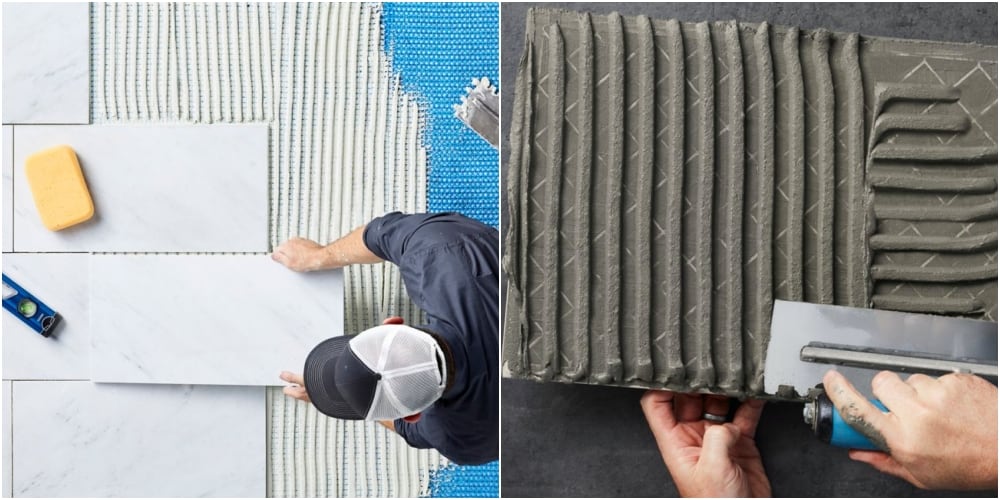
Check tile adhesion to the floor
8. Some Finished Project Images
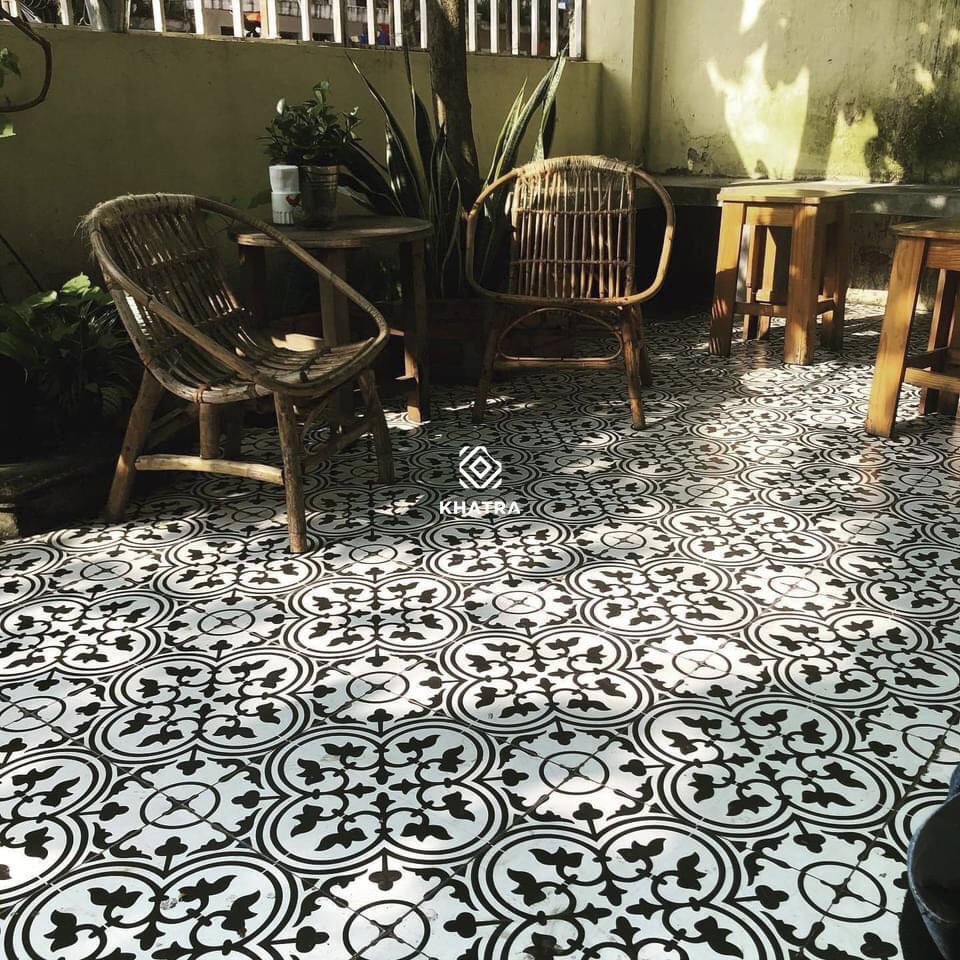
Below are real photos of completed projects by customers using tiles supplied by Khatra.